Feed Pellet Machine,Feed Granulator Max for Live,Triple S Feed Granulator,Feed Granulator Screen Size Hunan Xinta Machinery Manufacturing Co., Ltd. , https://www.xyagriculture.com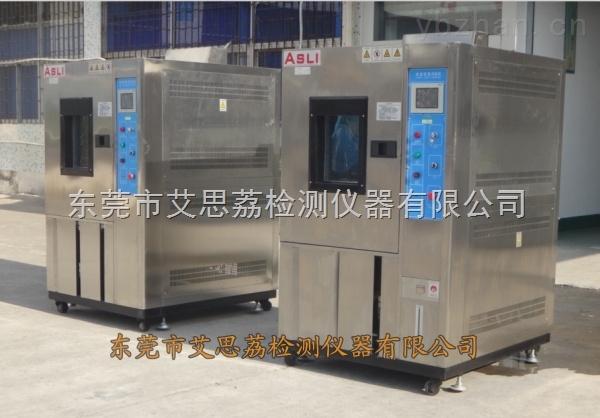
First, the vacuum drying test box needs vacuum debugging first:
a) Close the vacuum drying box door and tighten the door handle in place. Close the air release valve (twist the hole above the rubber plug and the hole above the purge valve by 90°) and open the vacuum valve (counterclockwise) Rotate to 90°). The vacuum valve may be tight when used for a second time.
b) Using a random fitting vacuum connection pipe (inner diameter: Φ16 mm wall thickness: 10 mm), connect the vacuum drying pump suction pipe (outer diameter: Φ16 mm) to the vacuum pump firmly. Turn on the vacuum pump power and start pumping. When the indicated value of the vacuum gauge reaches -0.1Mpa, we must close the vacuum valve and then turn off the vacuum pump power to prevent the vacuum pump's oil flowing back into the studio. At this time, the inside of the chamber In a vacuum.
Second, the vacuum drying test chamber debugging:
After the vacuum of the vacuum oven has been commissioned, we can do the following:
a, Open the vacuum drying box operation power, this time the power indicator should be on, the temperature controller power self-test, PV screen display studio measurement temperature, SV screen display factory set temperature. The AT, HEAT and other lights on the temperature controller should be on, indicating that the instrument has entered the warming working state.
b, modify the set temperature
1. Press the function key (SET) of the temperature controller; after the PV screen displays the SP character, you can use the button on the key to modify the set temperature.
2. After the modification is completed, press the SET button again, the PV screen will display the ST character and set the timing.
If you do not use the timing function, still let ST = 0;
3. Press the SET button again to make the PV screen display the temperature of the studio. The SV screen will display the new set temperature. The instrument AT and HEAT lights are on. At this time, the instrument will re-enter the heated working state.
c. When the temperature inside the studio is close to the set temperature, the HEAT lamp will light up and down, indicating that the heating will enter the PID adjustment stage. When the instrument sometimes measures the temperature exceeds the set temperature, sometimes it is lower than the setting. Temperature is normal. When the studio is in constant temperature after 1~2h, the items will enter the drying stage.
d. When the required temperature is lower, the secondary setting mode can be used. For example, if the required working temperature is 70°C, the first setting is 60°C, and after the temperature overshoot begins to fall back, the secondary setting is again 70°C. Reduce or even eliminate temperature overshoot and enter constant temperature as soon as possible.
e. When the item is dry, turn off the power supply. If cooling is accelerated, open the air release valve so that the vacuum level is 0. Wait about 5 minutes before opening the door.
4. If the humidity of the dried matter in the studio is large, the generated water vapor will affect the performance of the vacuum pump. It is recommended that a “dry/filter†be cascaded between the vacuum drying oven and the vacuum pump.
5. If we need to add inert gas such as nitrogen during the drying process, we should specify in the contract that an intake valve be added.
Eslite offers you a selection of test chamber products, you are welcome to inquire the details of the product! There are many different types of products, and there are subtle differences in different products. The company provides you with a full range of solutions. Welcome customers to inquire or visit the factory!
August 12, 2019